3 chairs

3 chairs

Thursday, January 19, 2012

I'm Back!

I want to apologize for my absence. I've been doing some repairs at a house in Utopia and haven't been able to get much shop time in the last week. I still have couple more days on the repair job but I hope to get some time this weekend to further the progress of the bench. Peggy has other projects for me also.

                                       This is the sunset Tuesday. Just another day in paradise!


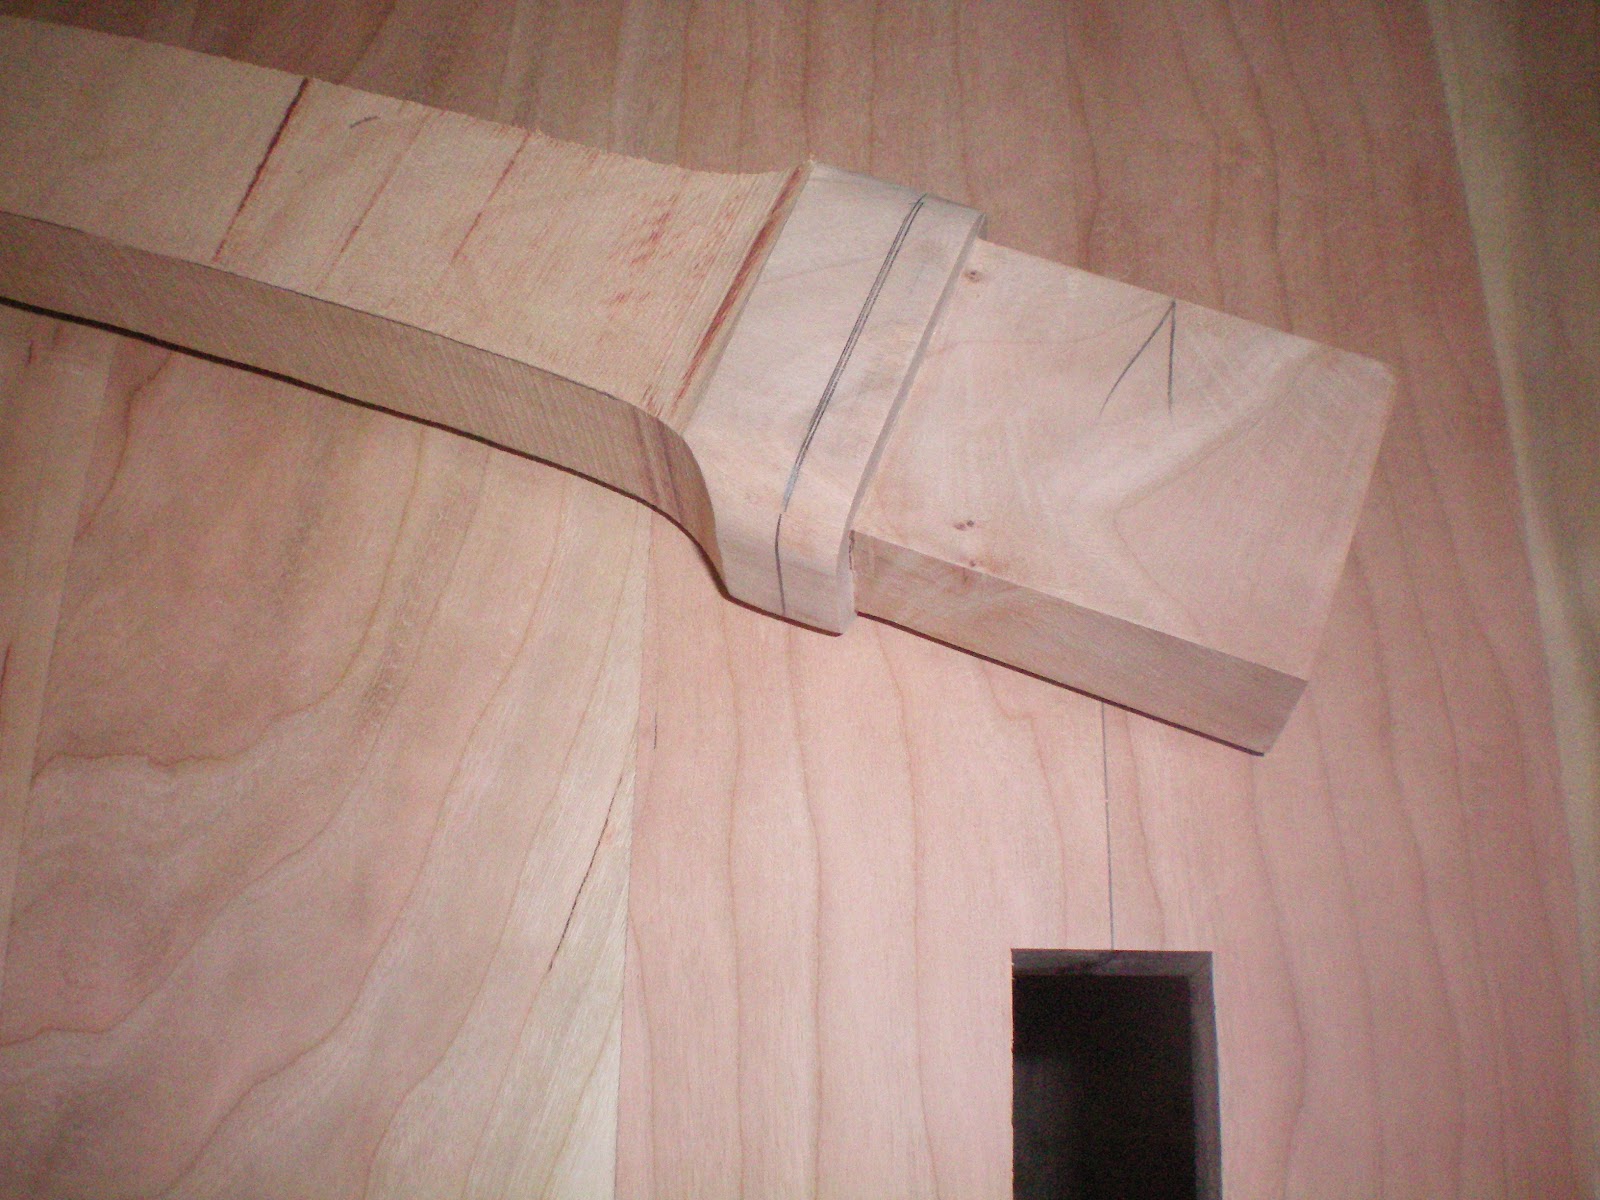
I glued the outside legs a few days ago (I think last Saturday).This shows about what the arm will look like.


Glued the center legs yesterday evening.

And just to show you no one is perfect, I'll tell a short story about this picture. The seat has been wanting to curl up on me since I glued the 3 segments together. I had it clamped to the bench for several days hoping it would straighten and it kinda was. I went to the shop on Sunday to work a little and found that the seat had split on this joint. Not a pleasant sight, but I didn't freak out! I was able to completely separate the joint and using my #5 plane I made a very slight bevel on both pieces- about 1/16" to nothing. The outside legs were already glued on making clamping to the workbench difficult, but it worked well. I glued the 2 parts of the seat back together, re-worked the leg joints, and the seat is much straighter; so it was happy ending. Don't tell Ronny Miller!

This afternoon I was able to shape all the leg to seat joints. This is a before picture showing the plugs in the legs. Front and back outside legs are glued and screwed.

I primarily use a die grinder with a 1/2" sanding sleeve followed by sanding with the random orbit. I also have a 1/2" carbide grinding bit for the die grinder for heavier removal.

I also ground down the tenons on the center front legs.

A couple of after shots.

This whole process took about 4 hours this afternoon.

Back legs are done also. Next is the arms but probably not till the weekend. Jesse thanks for your comment. If you get a chance, send a picture of the cabinet you're going to do. If I can be of any help just let me know.

Monday, January 9, 2012

1/9

Friday and Saturday I had to got to a friend's ranch just outside of Burnet ( pronounced "burn it") and repair a couple of well houses. They had the roofs blown off a while back because of tornado that passed through there. Finished up Saturday morning and headed back. It's about a 2 1/2 hour drive from here. On  Texas highway 29, which runs from Burnet to Llano, there are 2 bald eagle's nests. Peggy and I saw a report on tv about them a couple of years ago. There is a pull-off so you can stop and observe them. There was an eagle in one of the nests, and you could see his white head peering above the edge. Pretty cool. There is also a train that runs from Austin to Burnet and back on Saturdays complete with a gunfight. They also have a murder mystery ride. It's operated by the Austin Steam Train Association. You can get info on that by clicking here.
 On to the pictures.
Sunday I started rounding the front legs. I use the 24 grit wheel first followed by rasps and sanding.
Before and after. I'll do quite a bit of finish sanding before glueing. This is going to be a tough chair to turn over and get to some spots while sanding. I spent most of the afternoon watching football. How 'bout Tim Tebow?

This morning I fished rounding the front legs and did quite a bit of sanding on the seat. I milled the blanks for the back legs and cut them out on the bandsaw after lunch. Same process as the front legs: cut he dadoes, round over above and below, and file and sand to get a good fit.

Like this.

Started rounding the back legs. The outside back legs can be partially rounded on the shaper 

Seat sanded to 600.

Gets a nice shine

I was trying to show the undulations in the seat. It's turning out really good!


Thursday, January 5, 2012

Day 4

Another beautiful day in Utopia! No wind, 70 degrees and still no golf! Oh well. I did get a lot done on the bench. Not as much as I had hoped though.
I pulled the seat out of the clamps and turned it over. Not very impressive is it. See how dust free the bench is?

Yesterday I cut the front and back curves before it was glued. Much easier.


Next we make a bunch of sawdust! I mean a bunch! I use my grinders for shaping the seat. First the one on the right which has carbide wheel on it. This is very aggressive. The holes let you see what your doing. This one is brand new. The other one I have was getting a little dull and I have to say it's nice to see what your grinding away. After that I use the one on the left which has a 24 grit wheel to smooth the deeper gouges out. After that is sanding, sanding, and more sanding.

This is what it looks like after using the carbide wheel. Looking better?

Closer view.

After the 24 grit wheel.

The back has to be shaped also. The ridges where the boards are joined need to be knocked down and then sanded smooth.

Here it is sanded to 100. I typically sand to 220 and then start again with 100 because there are always a lot of tool marks that don't get smoothed the first time. Check out the dust on the bench.

I rounded over the legs that were roughed out he other day and fit them to the notches on the seat. This is a fairly tedious process involving files, a shoulder plane, sandpaper, and chisels. Trying to get the best fit possible. I also tapered the outside legs and cut 1/4"off each side of the inside legs. We'll round the legs and finish sand them before glue-up.

The center front legs get rounded on all 4 sides and fit to the rabbets on the bottom. We'll see the top of these legs on the top of the seat.

Closer view of the front scallops.

The back of the seat scoop is accomplished with the carbide wheel. The edge of the wheel is rounded which is great for roughing this detail. The finished chair will be sanded to 600 which will really polish the wood. It shines without any finish and feels really soft. Tomorrow and Saturday I have to go to a friend's ranch and do some work so I'll be back on this on Sunday. Don't have to worry about watching the Cowboys so I'll post more progress on Sunday night. I am so ready for baseball! Have a great weekend!

Wednesday, January 4, 2012

1/4/12

Not much to show you today. I was able to glue the seat together and that will have to wait for tomorrow to mess with. I won't do any more on the front legs until I can access the notches in order to fine tune the fit. Peggy and I had to go into San Antonio to run some errands and I had to get another chunck of cherry for the bench. While we were in town we went to see "Warhorse". What a great movie! It's one that is definitely worth seeing on the big screen. 
Took some doing but it's glued together.Tomorrow I'll flip it over and start shaping the seat. I cut the curves and the front scallops before putting it together since it's so big. I didn't cut the curves on the ends yet since I needed the square surfaces for clamping. Should be able to fit the front legs, round them over, and get the seat sanded. Lot's of pictures tomorrow!

Tuesday, January 3, 2012

Day 2 on the bench

Another great day in the Texas Hill Country! Didn't play golf though. I spent the morning getting the seat ready to glue together. Lots of details to take care of that are easier now rather than later. By the way I buy my 8/4 (2") lumber from Allen and Allen in San Antonio. The guys there are great!

The legs fit it rabbeted notches. These are called Maloof joints after the great craftsman Sam Maloof. If you do search on him you'll be impressed by the clean lines as well as the detail in all his furniture. I first saw one of his rockers at one of the Smithsonian museums in DC. It was a double rocker in tiger maple and I was so struck by it I knew I had to learn how to build that type of chair. Still learning! 

This is one of the centers. The front leg will fit in the mortise closest to the bottom. The bottom is rabbeted like the rest of the leg notches. The intermediate back legs fit in the notches at the top.

I decided to do the glue-up in sections since the seat is very long. I used epoxy on all the pieces for strength as well as it's ability to fill gaps. Not that there will be gaps! No way! The epoxy cures overnight. Tomorrow morning I'll glue these three together and let that dry overnight.

Got started on the front legs. They're milled to 1 3/4" x 3 1/2" x 21"

Dadoes are cut before the shape is cut. Above and below the dado will get a 1/2" round over to fit the rabbet on the seat.

These tenons will fit in the mortise shown above. I cut them a little over size. When the seat is completely glued together I'll make them fit.

The inside of the outside front legs (confused?) get a slight taper then all the legs get rounded over. More on that in the days to come.

One of the seat sections. I love to read comments and answer questions so don't be shy. Have a great evening!

Monday, January 2, 2012

First project of the year

A really beautiful day today! Started off a little cool but warmed up to about 70. Great day to have the big door on the shop open. I started the bench for Renee Miller in Denton. It's going to be similar to the settee pictured in the previous post except it will seat three. She is going to use it for the dining table.  We're using cherry to match the rest of the furniture in the room. I spent all morning milling the pieces for the seat. There are 15 they make up the seat. The challenge was to make the dimension from center to center of the rear legs the same so that the headrests are all the same length and still get the coopered effect for the seat to look right. I used some poster board taped to the bench so that I could draw the seat full-scale.


Here's a sketch of what we're doing. Overall length is about 60".

All the pieces laid out on the bench. I spent some time looking at the grain to get the best matches. The black lines show me which way the bevels go on each piece.

I beveled and jointed all the edges and added biscuits to keep everything in line. This is a dry fit. I also used the bandsaw to cut out some of the material for the seat scoop. It saves a lot of time and sawdust later. This thing is going to be a bear to glue up.

You can see the coopered effect. Makes for a more interesting seat.  I spent most of my career throwing crooked boards away; now I spend hours making straight ones crooked!

These lines are where we'll cut the outside edge after glueing and where the scoop will be. The front also gets some scallop-like cuts.  Tomorrow I'll cut the notches for the legs. The front center legs will actually go all the way through the seat which will make a nice look. Should get the seat glued up tomorrow and do some work on the legs. Unless it's really nice again (golf!).

Sunday, January 1, 2012

Happy New Year!


I hope everyone had safe and Happy New Year and we all feel good today! Peggy worked the past 3 days so we went to bed pretty early last night. It's been a long time since we rang in the new year and I suspect it won't happen very often in the future. The hazards of getting old I guess. Last week I went into San Antonio to get some materials for a closet cabinet for us and a bench for a customer. I drove in on Monday only to find everything closed! Well, Yeah! Christmas was on Sunday! Of course! So I went back Tuesday and got what I needed. Same thing tomorrow. I spent last week on a job in the field a couple of days but I was able to build a much needed cabinet for our closet. It's a little over 4' wide with adjustable shelves. I thought I would finally make good on my promise to post some past projects. So here's a few.


First the newest project.  Built it out of red oak since that was pretty cheap. I usually buy  my 4/4 and plywood from Roddis Lumber in San Antonio.


Peggy got this idea from Pinterest. An easy clothes hamper.

This is a lowback settee out of walnut in the Maloof style.


I really like walnut. Did I already say that?

This is one of a pair of dining chairs again in walnut, again in the Maloof style.


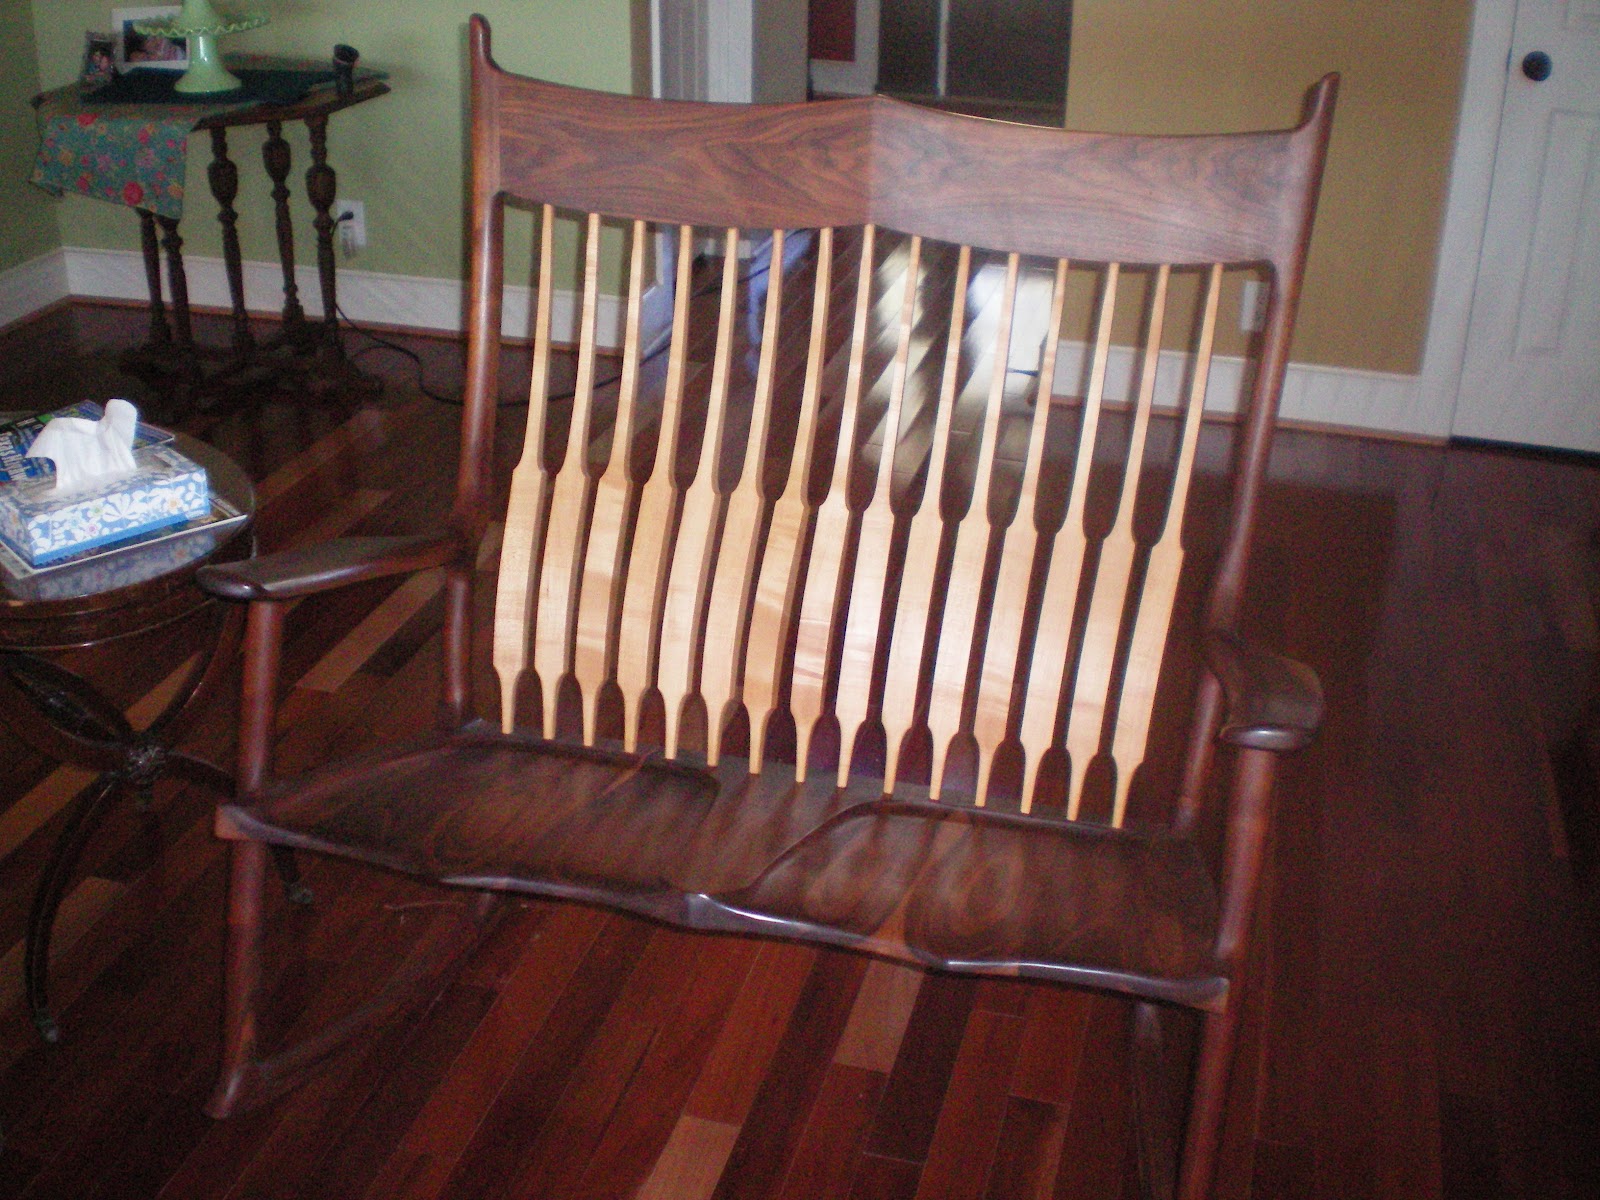
Double rocker, walnut and maple. I really like using contrasting woods.


This is an ottoman out of cherry and maple. It is also chair height so it adds extra seating. Kind of an industrial looking thing.


Built this as our entertainment center. The top is alder and the cabinet is poplar with a black milk paint and a satin sealer. The fabric panels can be changed to fit the season. I did one similar for a customer that was a little longer and had 4 doors and no drawers.


I'm sitting in this chair now. It's cherry and maple and is extremely comfortable. It will rock and has everything an office chair is supposed to have. Again in the Maloof style. I'm starting to see a pattern here.

Peggy saw a picture of a cabinet similar to this and she asked me to recreate it. Poplar and birch plywood.  It's painted and distressed and very functional. Stands about 6' tall.


This is Peggy's sewing center. I got the plans for this from Rockler as well as all the hardware. The machine is on a lift and the cabinet closes up and looks like a buffet. I designed and built the chair for her to match the cabinet. It's all cherry. There is even a spot for her serger. Sorry about the lighting. It's very sunny today.

I finished this china hutch in the fall. Mahogany and maple. Stands about 8' tall and 5' long. The glass is called "seeded" and we got it from my classmate Jim Berry at Blue Moon Glassworks in Austin. A great place. We used a piece of really nice granite for the top since we use it as our bar. The hinges are called rat-tail hinges. Really cool looking.  All of these pieces are for sale or I can be commissioned to build what ever your heart desires. Next week we should see some progress on the bench. Thanks for reading and let's have a great New Year!