
Another beautiful day in Utopia! No wind, 70 degrees and still no golf! Oh well. I did get a lot done on the bench. Not as much as I had hoped though.

I pulled the seat out of the clamps and turned it over. Not very impressive is it. See how dust free the bench is?

Yesterday I cut the front and back curves before it was glued. Much easier.


Next we make a bunch of sawdust! I mean a bunch! I use my grinders for shaping the seat. First the one on the right which has carbide wheel on it. This is very aggressive. The holes let you see what your doing. This one is brand new. The other one I have was getting a little dull and I have to say it's nice to see what your grinding away. After that I use the one on the left which has a 24 grit wheel to smooth the deeper gouges out. After that is sanding, sanding, and more sanding.

This is what it looks like after using the carbide wheel. Looking better?

Closer view.

After the 24 grit wheel.

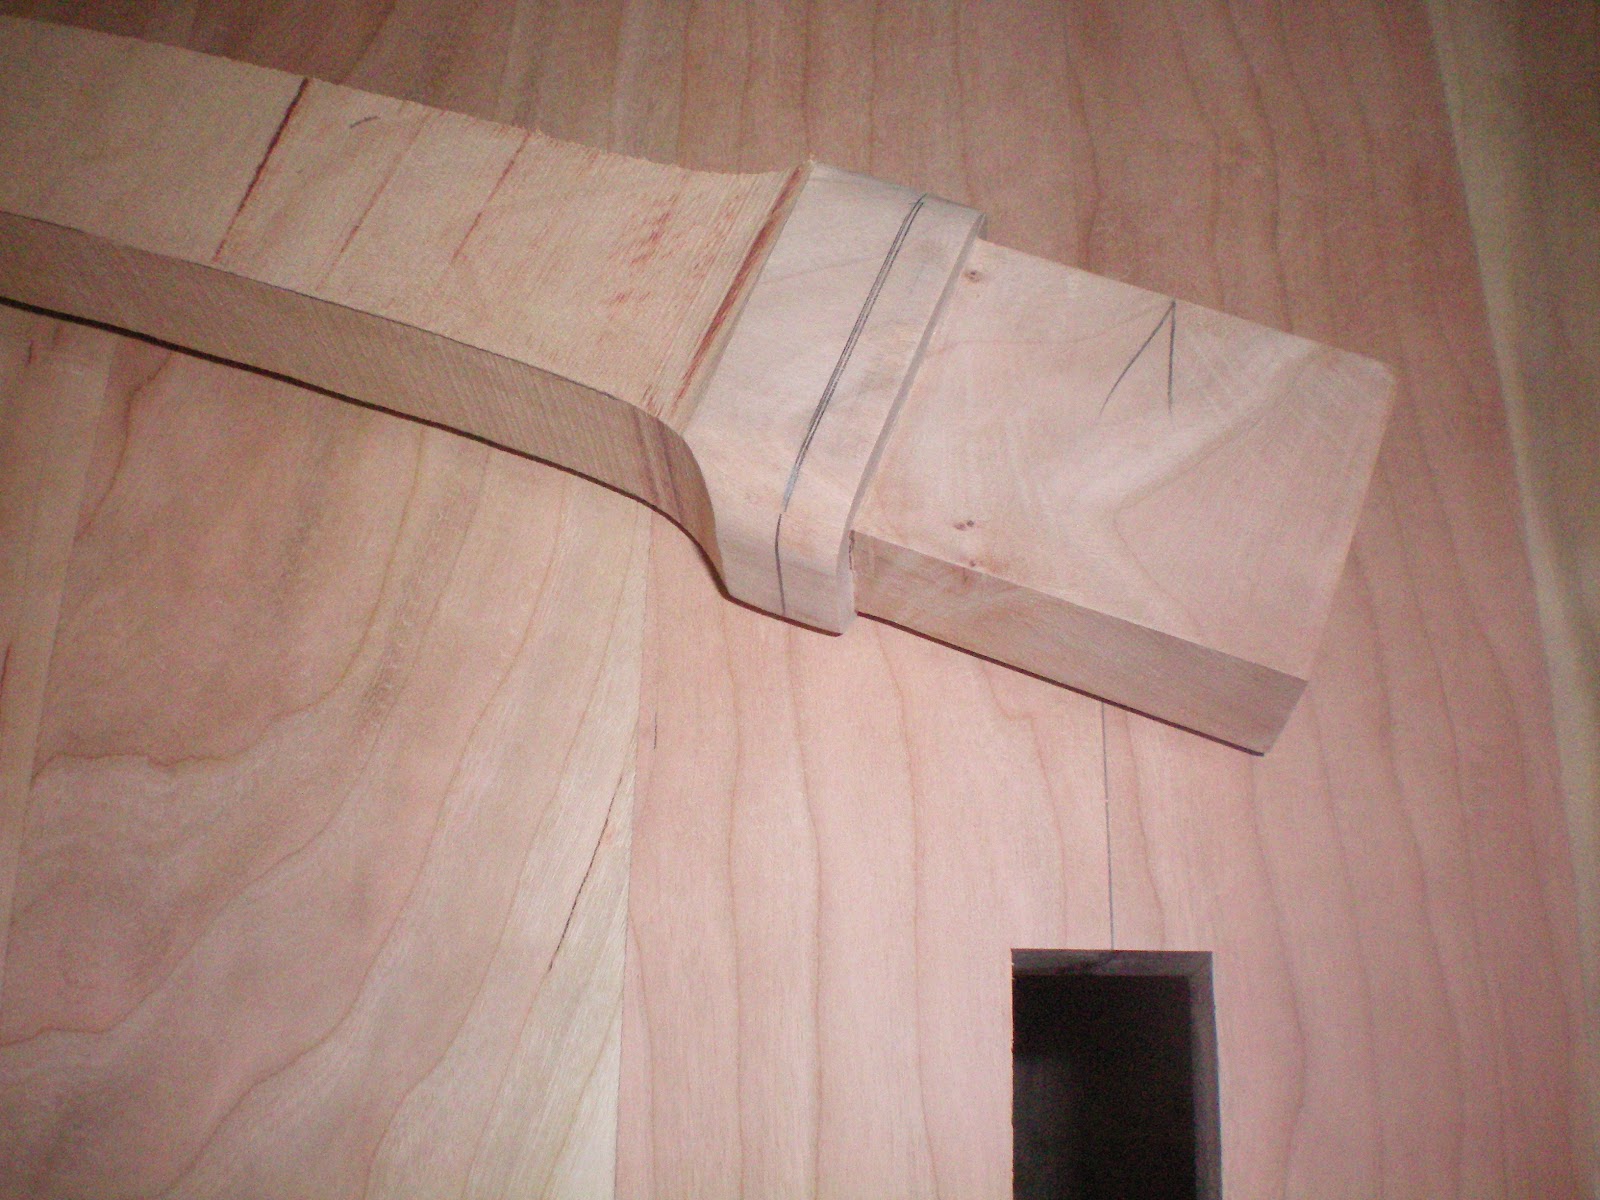
The back has to be shaped also. The ridges where the boards are joined need to be knocked down and then sanded smooth.

Here it is sanded to 100. I typically sand to 220 and then start again with 100 because there are always a lot of tool marks that don't get smoothed the first time. Check out the dust on the bench.

I rounded over the legs that were roughed out he other day and fit them to the notches on the seat. This is a fairly tedious process involving files, a shoulder plane, sandpaper, and chisels. Trying to get the best fit possible. I also tapered the outside legs and cut 1/4"off each side of the inside legs. We'll round the legs and finish sand them before glue-up.
The center front legs get rounded on all 4 sides and fit to the rabbets on the bottom. We'll see the top of these legs on the top of the seat.

Closer view of the front scallops.

The back of the seat scoop is accomplished with the carbide wheel. The edge of the wheel is rounded which is great for roughing this detail. The finished chair will be sanded to 600 which will really polish the wood. It shines without any finish and feels really soft. Tomorrow and Saturday I have to go to a friend's ranch and do some work so I'll be back on this on Sunday. Don't have to worry about watching the Cowboys so I'll post more progress on Sunday night. I am so ready for baseball! Have a great weekend!
2 comments:
Interesting (and helpful) to see the step-by-step process of your pieces. They're beyond anything I could hope to make, but it's still informative to know what tools and techniques to use to achieve certain looks (such as the grinder and sander).
I'm hoping to build a small "cabinet" for one of the corners in our living/dining room. Found an example in a vintage store while we were home in Iowa over Christmas break. I hope to use a picture of it as my template. (We have some minor renovations on our house to take care of first.) But someday...and hopefully soon.
Jesse, thanks for the comment. If I can be of any help when you build that first cabinet let me know.
Ron
Post a Comment